 Parler
 Gab
Gab
How to make a DIY composting toilet with a urine diverter
A DIY composting toilet isn't too complicated, but it does require a lot of elbow grease and some materials. Composting toilets are fairly easy to make and use. Make sure you have the right tools so you don't encounter any troubles while building the DIY compost toilet. (Related: Prepper projects: How to build a composting toilet.) The compost substance used in your compost toilet will be a mixture of several substances. Regardless of what elements you use to create the compost pile, you will want to use dry wood shavings and activated or mature sawdust as the primary cover material on the compost pile. Using these materials will help trap oxygen within the mixture and reduce odor. You will need:- Plastic urine diverter
- Straw or sawdust
- Compost pile
- Garden hose
- Plumbing hardware
- Cotter pins
- Zip ties
- Caulk
- Rubber washer
- Screws
- Knob
- Start by attaching the plumbing to the toilet. Assemble the compost bucket and cut a hole in the side of the bucket so the plumbing hardware fits inside. Next, attach the plumbing hardware pieces together on the inside of the bucket.
- If you bought your own plastic urine diverter, it is probably rimmed around the edges and made to sit upright on the inside of a composting toilet. Another option is to DIY your own urine diverter by cutting apart a separate plastic bucket. If you want to save some cash by creating your own diverter, take a second plastic bucket and cut off about one inch of plastic from the bottom. Throw the top half of the bucket away since you only need the bottom half to create the urine diverter. Next, cut the bottom of the bucket off and into two pieces from side to side, then save both pieces of the bucket. Each half should look like a semi-circle. Connect the two pieces to each other using a cotton pin and a rubber washer. Attach the DIY urine diverter to the larger bucket you’re using for the compost toilet. This is where the zip ties and screws come in. Drill holes in the sides of the bucket and use zip ties to attach the urine diverter to the main bucket. When you attach this, do so at a slight angle. Seal up the gaps with caulk. To save yourself some time, you can also buy a urine diverter online.
- Next, you need to attach the garden hose to the plumbing hardware. The garden hose will run from the composting toilet straight into a urine-holding container that usually holds about 2.5 gallons of liquid. You need the hose because it will redirect urine into the holding container.
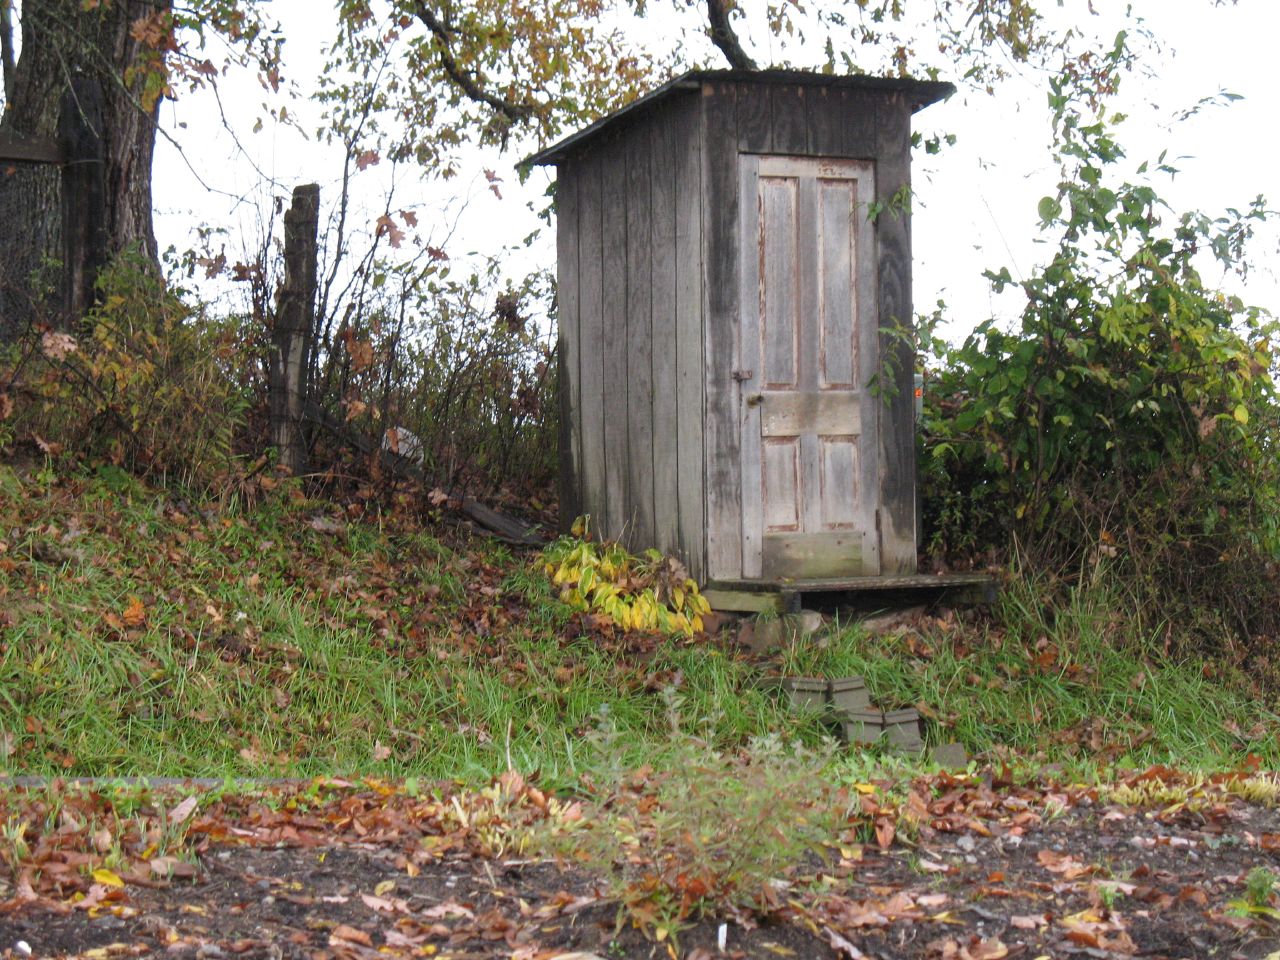
- Install the composting bucket underneath the toilet seat. Make sure you buy a plastic toilet seat that is compatible with any composting toilet. You have several options when it comes to holding the toilet seat in place. For the DIY option, use a wooden box that opens and carve a hole out of the top of the box for the toilet seat so you can easily access the hose and compost bucket underneath. You can have this type of composting toilet outside or inside your home. Alternatively, you can build the composting toilet entirely into your home or house either by attaching it to the wall directly or by creating a wooden container that extends from the wall with enough space for the toilet.
- The composting toilet is now ready for use. Once the composting toilet is up and running, you are better prepared for when the plumbing system stops functioning properly.
How to use a composting toilet with a urine diverter
Now that your composting toilet is ready to use, make sure you know how to use it properly. Malfunctions with a composting toilet can get very gross, so it's best to learn how to use and repair any issues with the composting toilet. Keep urine out of the compost This is important because once the compost in the toilet gets wet, anaerobic bacteria will start to grow in your compost. Once this happens, the anaerobic bacteria will release a foul odor and it will not break down into fertilizer that is safe to use in your garden. Urine also contains nitrogen, which will hinder the composting process. To prevent this, use a quality urine diverter or make sure your DIY urine diverter fits and works properly. With a urine diverter, the urine will be funneled into a separate collection chamber that you can dump in your yard and keep away from the fresh compost. Using the compost properly When peeing in the composting toilet, you need to sit entirely on the seat. If you hover above the seat, the urine diverter won't work properly. With the urine diverter, the liquid waste will go in one direction while the solid waste goes in another. You can throw toilet paper used when peeing into the same section with the solid waste and let it break down. You don't need substrate cover material if you are just peeing. When going number two, you will need to use substrate cover material over your waste. After each time you go number two, add enough cover material so none of the waste is visible. After doing this, close the lid of your compost toilet. Empty the waste bucket after use When you’re done using the composting toilet, you need to know how to properly empty out the waste bucket. To make useable, safe compost out of human waste, your compost has to maintain a high temperature for a very long period of time. This is when the composting takes place. This high temperature isn't actually going to be reached in the compost bucket connected to the toilet. To get your heap to finish curing, you need to move the waste to a compost bin by emptying out your waste bucket. How to empty out the compost toilet When the compost bucket is full, empty it into a large compost drum. After the compost drum is full, cover it with a dry substance like straw. Let the compost drum fester for one whole year. After a year of composting, the contents in the bin will shrink. You can now put the fresh fertilizer on your plants. If you're composting food and kitchen waste in your garden within a confined space where you may also use a portable toilet, this can attract unwanted pets. The flies are harmless and they don't bite, but it's best not to attract them in the first place with any kitchen scraps. Clean the composting toilet properly If the compost toilet needs to be cleaned, get a spray bottle and pour some vinegar in it diluted with a 5:1 ratio of water. Spray the composting toilet with vinegar to "clean" it and reduce any odors from liquids left on the surface. Never pour water into the composting toilet because this runs the risk of making the compost too damp and growing extra smelly bacteria. For a cleaner and fresher toiler, install a new rubber seal. If you truly want to go off the grid before SHTF, set up a composting toilet with a urine diverter to maintain proper hygiene and also produce compost for your home garden. Visit Offgrid.news for more prepper projects for an off-grid homestead. Watch the video below to know how a compost toilet works. This video is from the Cahlen channel on Brighteon.com.More related stories:
Water, gardening, community and more: 11 Important tips for preppers. Homestead must-haves: 4 Off-grid amenities for your property. Prepper projects: Setting up a rainwater shower at your homestead. Sources include: TheTinyLife.com CompoCloset.com Brighteon.comEuropean telecommunications networks may go offline this winter due to energy crisis
By Ethan Huff // Share
Hurricane Ian DEVASTATES Florida; full recovery expected to take years
By Arsenio Toledo // Share
Survival 101: Preparing for a nuclear emergency
By Zoey Sky // Share
Heat, shelter and survival: 22 Winter safety tips for preppers
By Zoey Sky // Share
Panic buyers stripped supermarket shelves bare before Hurricane Ian made landfall in Florida
By Belle Carter // Share
Governments continue to obscure COVID-19 vaccine data amid rising concerns over excess deaths
By patricklewis // Share
Tech giant Microsoft backs EXTINCTION with its support of carbon capture programs
By ramontomeydw // Share
Germany to resume arms exports to Israel despite repeated ceasefire violations
By isabelle // Share


